This is a part of a bigger series I'm writing on archiving media in general.
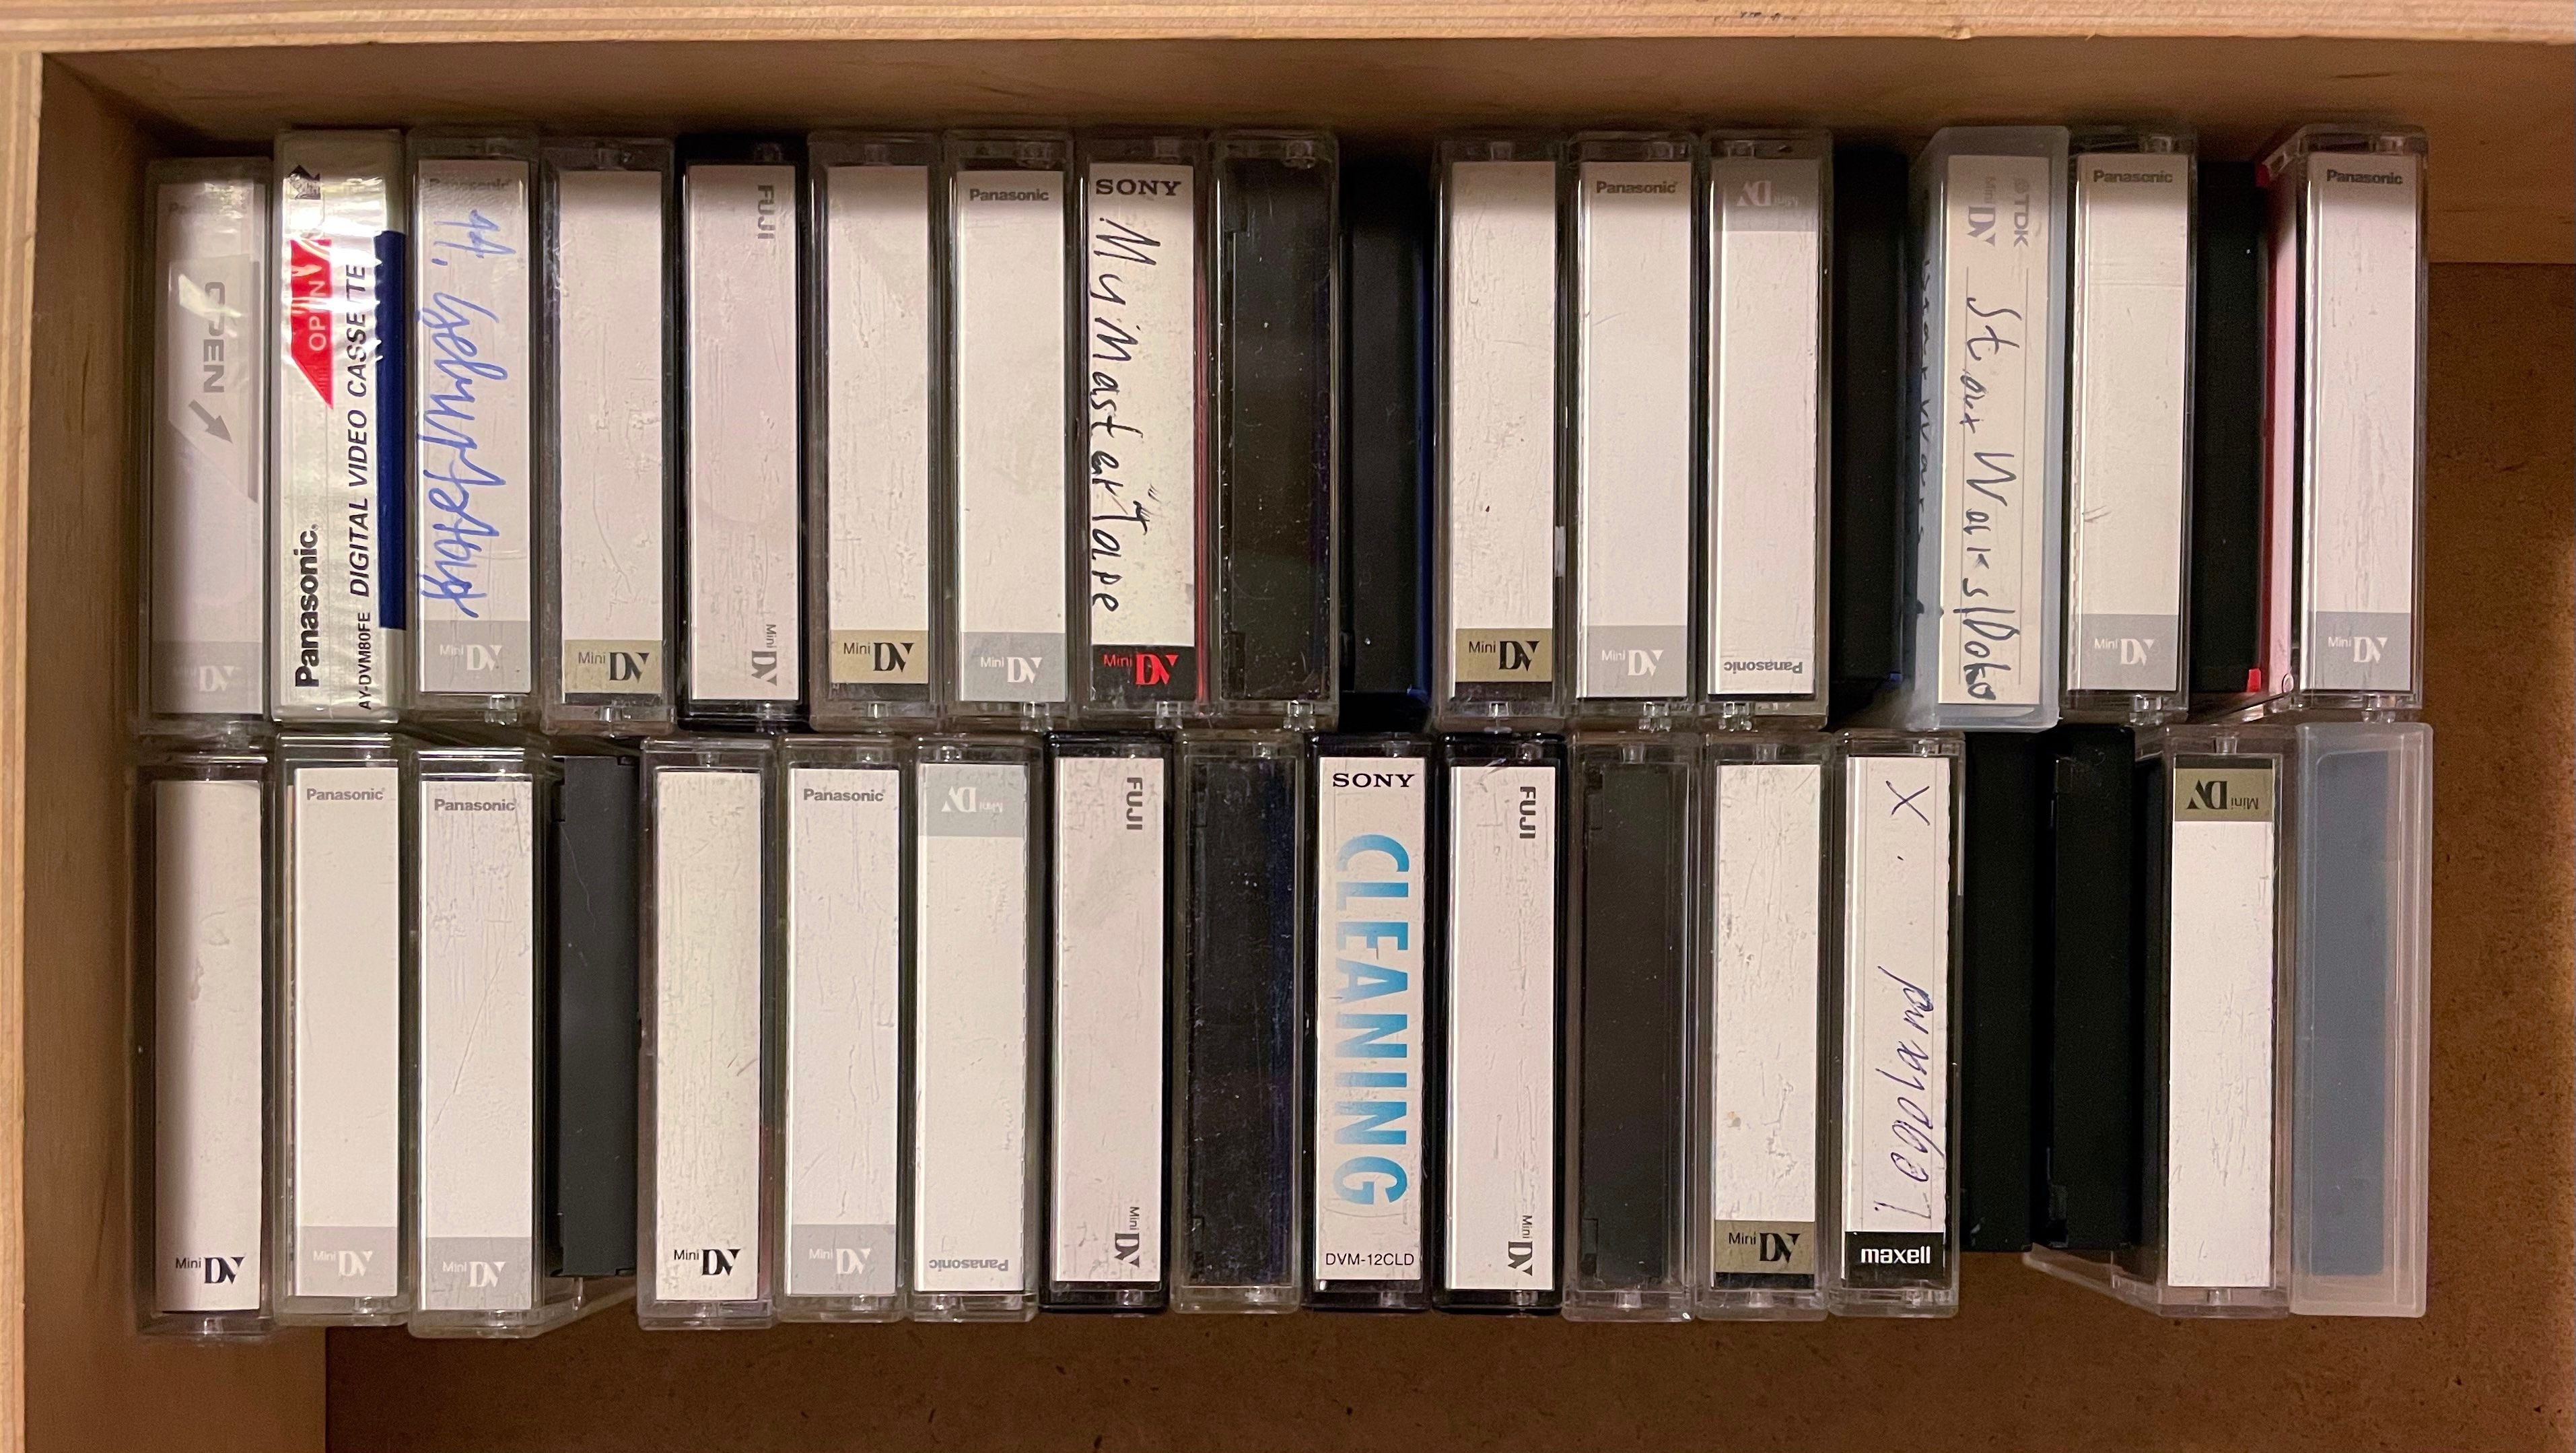
I've spent the past few weeks at my parents' house and wanted to use the time to digitize and catalog old pictures and videos that they have, to make sure they don't get lost or unreadable some time in the future. I found a box full of old MiniDV cassettes and took the challenge to capture them all.
I had three requirements for the process:
- Each MiniDV tape should be captured losslessly, 1:1 into a single file for archival
- Each file should be split into clips that I can later import into my Photos library
- Generated clips should have the correct timestamp based on the date stored on the tapes
This sounded easy at first, but there were a few hurdles to overcome:
The Player
It's been a long time since I last used a camcorder and I think I threw my old one away a few years ago after the screen broke. Used MiniDV camcorders are surprisingly expensive and I didn't want to put too much money into this.
Luckily, a good friend of mine still has an old MiniDV player that he could lend me for a few weeks – the Sony GV-D1000E (PAL).
The Connection
Connecting Mini FireWire to a modern MacBook with only USB-C ports takes a few adapters to achieve:
- Thunderbolt 3 -> Thunderbolt 2
- Thunderbolt 2 -> FireWire 800
- FireWire 800 -> FireWire 400
- FireWire 400 -> Mini FireWire
You could also go directly from FireWire 800 to Mini FireWire, but I already had a 400 -> Mini cable, so I went the longer route.
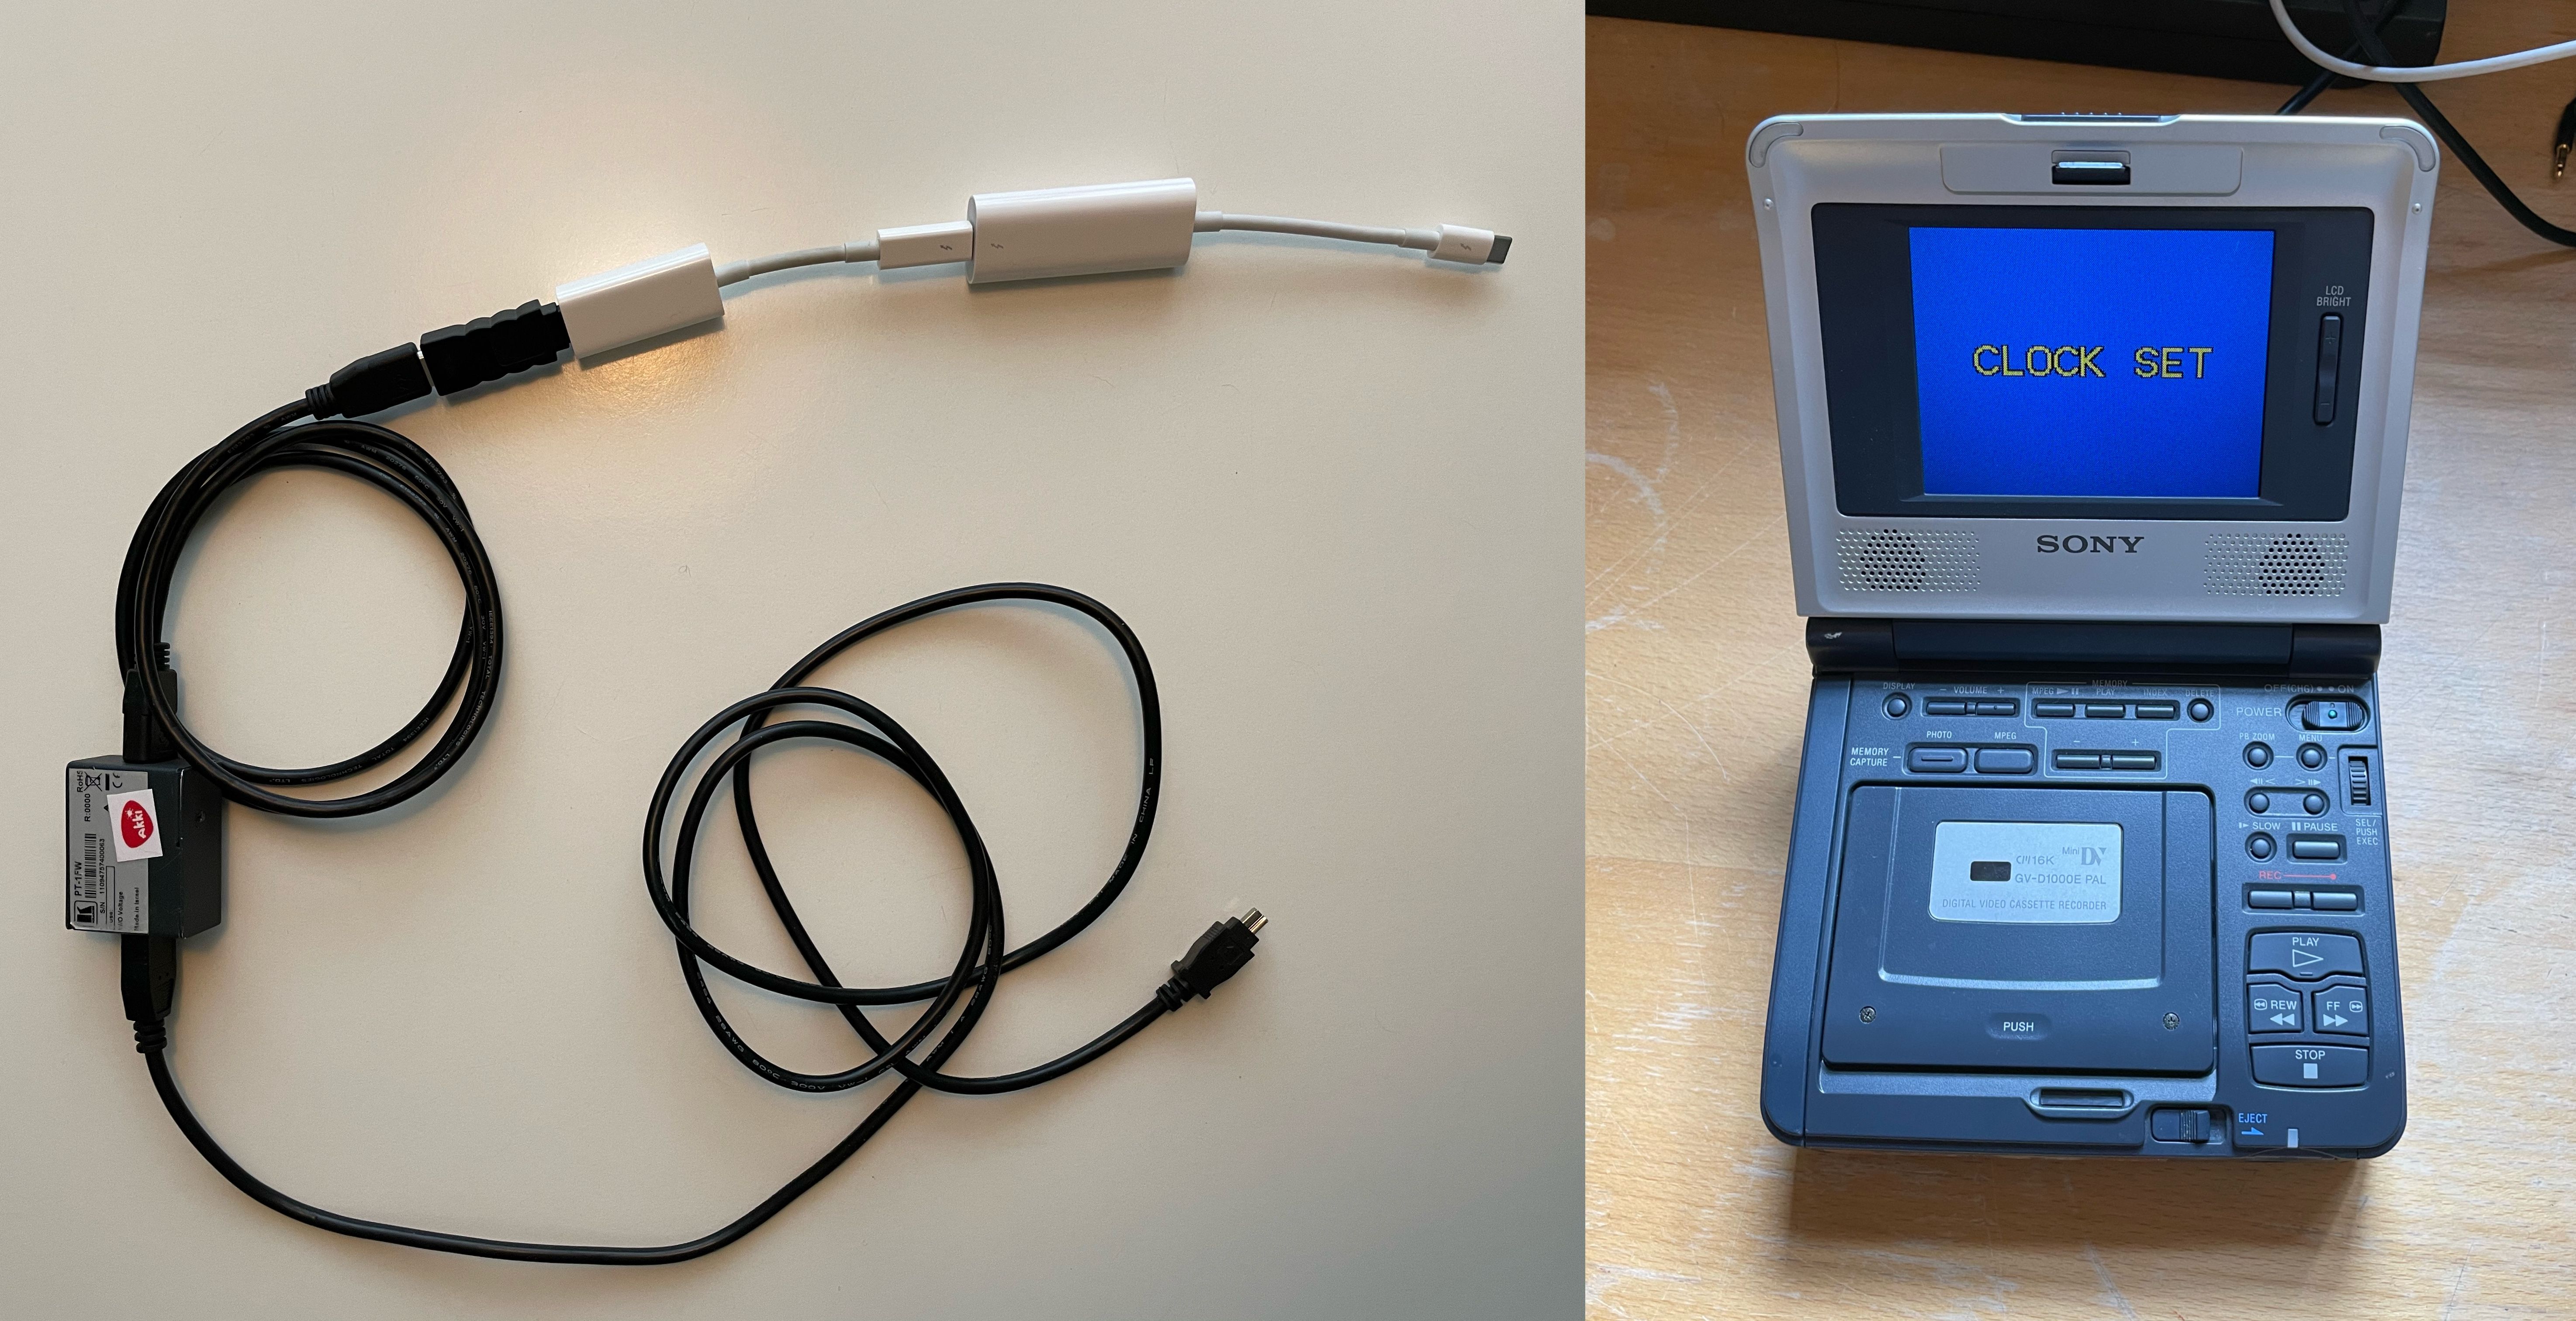
The little box in the image is a DV Line Protector that prevents power spikes from frying the connected hardware. Even though that's a long chain of adapters, the connection is stable and the player was recognized correctly after plugging it in.
The Software
You can skip this section if you want to get straight to my solution.
Here's where it got a bit tricky. MiniDV is an old and outdated standard, so there is not much active software development going on around it. I tried a few programs:
Premiere Pro CC
Premiere straight up doesn't support DV on macOS anymore, so no luck.
iMovie and Final Cut Pro
iMovie and Final Cut support capturing from MiniDV and write the data straight to disk without any modification, but they didn't work out for me for two reasons:
- There was no way to turn down the audio while a tape was being imported
- Final Cut's scene detection is very eager, splitting clips every time there's a slight glitch on the tape or the timecode doesn't line up.
QuickTime
The current QuickTime app allows you to capture MiniDV video, but it applies its own video filters, like deinterlacing, and it doesn't split the video into clips.
LifeFlix
This app is developed specifically to capture old MiniDV videos so I had high hopes, but it also detected the clips wrong sometimes and didn't always extract the correct dates.
I concluded that using an app might not be the way to go here, so I looked around the internet and found a project called DV Rescue.
The DV Rescue Project
DV Rescue is a project by MIPoPS, the Moving Image Preservation of Puget Sound. They are focused on archival and restoration of MiniDV tapes and have open-sourced their work. Last November, they released a presentation of the project's current state.
Two tools are specifically interesting for our use case:
- FFmpeg-Decklink: A modified version of FFmpeg that is able to handle MiniDV, even with glitches and errors in the video and audio streams
- DV Packager: A tool to split the imported data into clips based on given parameters, properly aligning audio and video and adding problematic timestamps as chapter marks
Both tools don't have a GUI, so we're going to use the Terminal.
Capturing the MiniDV Tapes
To use the tools, make sure that Homebrew is installed, then run the following commands to install them on your machine:
brew tap amiaopensource/amiaos
brew tap mediaarea/homebrew-mediaarea
brew install ffmpegdecklink dvrescue mediainfo
brew link --force ffmpegdecklink
First, check what name your MiniDV player or camcorder is listed as:
ffmpeg -f avfoundation -list_devices true -i ""This will give an output like this:
Asked for all format descriptions...
[...] AVFoundation video devices:
[...] [0] FaceTime HD Camera (Built-in)
[...] [1] DV-VCR
[...] [2] Capture screen 0
[...] AVFoundation audio devices:
[...] [0] MacBook Pro Microphone
In my case, the player is called DV-VCR.
To capture a tape, insert it, rewind it, and then launch this command:
ffmpeg-dl -f avfoundation -capture_raw_data true -i "DV-VCR" -c copy -map 0 -f rawvideo video.dv-i "DV-VCR"selects the input device-c copytells ffmpeg to not re-encode the file-map 0specifies that all streams should be saved as-is-f rawvideotells ffmpeg that the video stream is raw datavideo.dvis the output filename
FFmpeg will now capture the raw data stream and write it to the file. I usually just leave this running in the background until the tape is finished.
When the whole tape is captured, you'll have one file that contains the raw data. You can archive this somewhere if you like.
Splitting the Recordings into Clips
To split the recordings into smaller clips, we're going to use dvpackager:
dvpackager -e mov -s video.dv-e movsets the output format, this could also bemkv-smeans that files will be split by record markersvideo.dvis the input file
DV Packager will now go over the video file, correct A/V synchronization, and add chapter marks for problematic parts. This process will take a while.
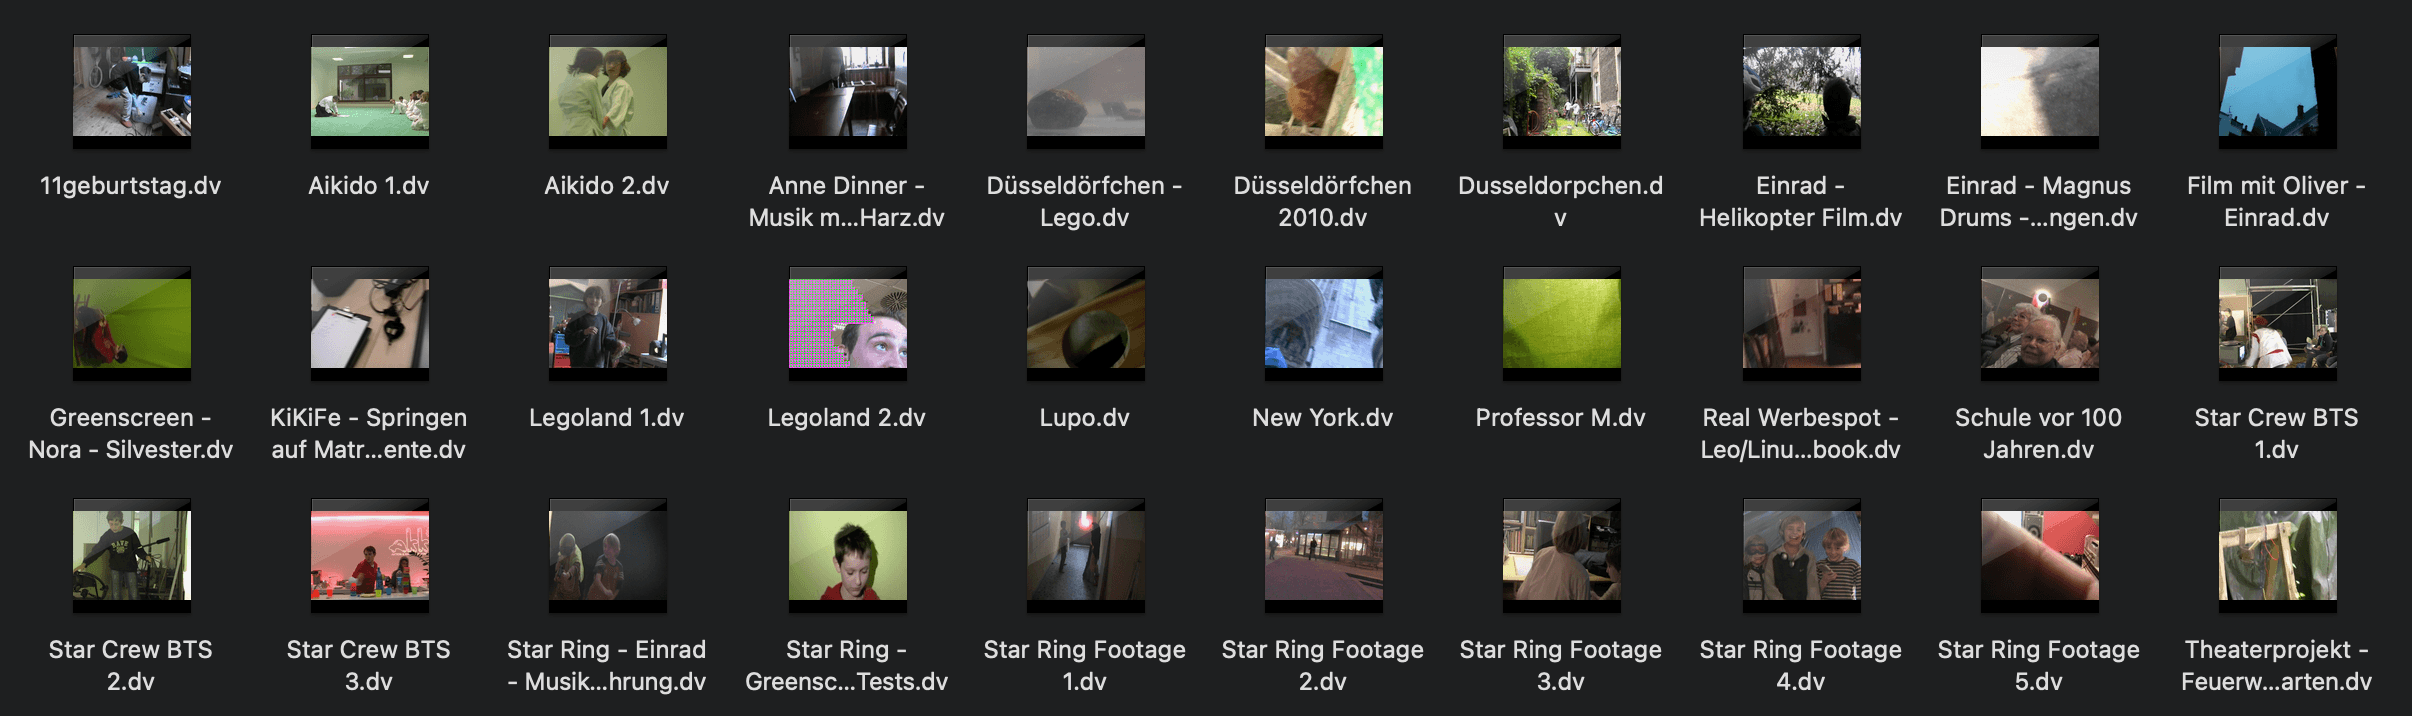
After this step, you can go through the clips and sort out unimportant ones. You could call it a day at this point and save the videos somewhere, but I wanted to store the clips in Apple Photos and save some storage, so I added a few steps.
Extra Steps
I wrote some scripts to process the clips that I wanted to add to my library.
Convert the Clips to HEVC
Here's a script that deinterlaces all files in the current directory, converts them into HEVC videos, and adds the recording date to it so that it can be correctly imported into Photos:
for f in *.mov
do
  DATE=$(mediainfo --Output="General;%Recorded_Date%" "$f" | cut -c1-19)
  SAFE_DATE=$(echo "$DATE" | sed -e 's/://g' -e 's/ /_/g')
  OUTPUT="$SAFE_DATE"_"${f%.*}.mp4"

  echo "Converting $f..."

  ffmpeg-dl -i "$f" -vf "yadif=mode=send_field:parity=bff" -preset medium \
    -vcodec hevc -tag:v hvc1 -crf 22 -pix_fmt yuv420p -movflags +faststart \
    -c:a aac -b:a 256k -write_tmcd 0 -metadata creation_time="$DATE" \
    -hide_banner "$OUTPUT"
done
You can import the resulting files into Photos or Google Photos and they will be dated correctly, given that your camera's time was set correctly when the clips were recorded.
Just add the Recording Date to the Filename
for f in *.mov
do
  DATE=$(mediainfo --Output="General;%Recorded_Date%" "$f" | cut -c1-19)
  SAFE_DATE=$(echo "$DATE" | sed -e 's/://g' -e 's/ /_/g')
  mv "$f" "$SAFE_DATE"_"$f"
done
This might be practical if you want to further process the video before adding it to your library. You could, for example, deinterlace it and upscale it to 1080p with Topas Labs' Video Enhance AI using the Dione Interlaced algorithm with Bottom First field order.
Conclusion
Even though it took some time, I now have a solid process for archiving MiniDV tapes and adding them to my Photos library. There are so many precious moments on there and I'm happy that I invested the time to transfer and catalog them.
If I could talk to my 12-year-old self, I would tell him to not re-use those tapes. It degrades their quality and overwriting means losing the old material. Still, I'm happy with the results.
In the next article I'll be writing about the process of cataloging photos from old hard drives in macOS' Photos app.