In our informatics class, we are working a lot with Java and as I was searching for a nice IDE that is easy to use and contains an integrated project manager, I found IntelliJ IDEA. I really like it and wanted to use it in school as well. The only problem is that we can't install applications on school computers as we can't change files on their hard drives permanently. So I had the idea to create a portable version of IntelliJ that could be run off a usb drive and therefore doesn't require writing access on the computer's hard drive.
Installing IntelliJ IDEA
I started by downloading and installing the IntelliJ IDEA Community Edition and making a copy of the application folder on my desktop. Then I looked into the copied folder and found one interesting file in the "bin"-subfolder: idea.properties This file contains the file paths that IntelliJ uses to store your settings and other files like logs or plugins. I changed those paths so that all files that IntelliJ needs writing access to are stored inside a "var"-folder in the application's path:
#---------------------------------------------------------------------
# Customize path to IDE config folder.
#---------------------------------------------------------------------
idea.config.path=${idea.home}/var/config

#---------------------------------------------------------------------
# Customize path to IDE system folder.
#---------------------------------------------------------------------
idea.system.path=${idea.home}/var/system

#---------------------------------------------------------------------
# Customize path to user installed plugins folder.
#---------------------------------------------------------------------
idea.plugins.path=${idea.home}/var/config/plugins

#---------------------------------------------------------------------
# Customize path to IDE logs folder.
#---------------------------------------------------------------------
idea.log.path=${idea.home}/var/system/log
Adding Java's JDK
Next, I downloaded the 32-bit version of Java's JDK and installed into a new folder inside the application's path that I called "jdk". The application's folder now looked like this:
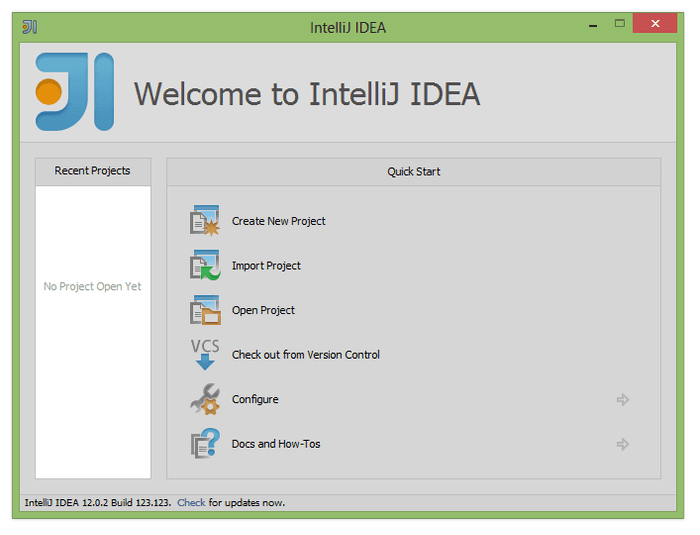
Then I started idea.exe which is located in the "bin"-folder. After declining that I want to import settings from another version of IntelliJ, I finally got to the home screen.
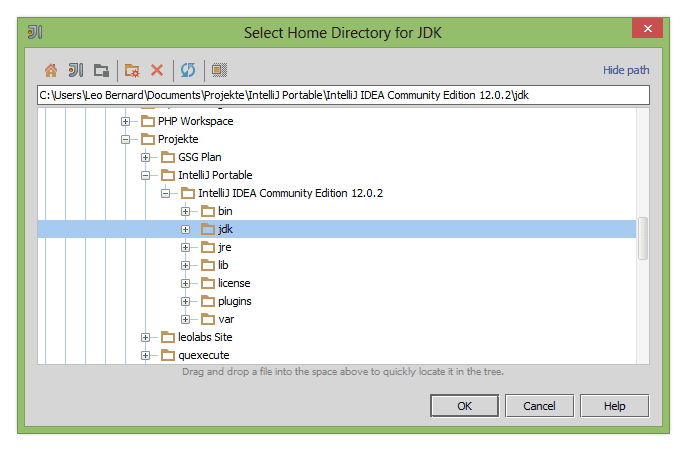
I created a new project and configured the JDK path to be inside the application's folder where I installed the 32-bit version of the JDK.
If you look into the application's folder now, you'll see that IntelliJ automagically created a "var"-folder like we configured it in the "idea.properties"-file. Now, everything should be up and running and we're able to copy the application's folder onto a USB drive. As I wanted to be able to start IntelliJ as fast as possible, I created two shortcuts on my USB drive, one that points to "bin/idea.exe" and one that points to "bin/idea64.exe". The application's folder should now look like this:
If you want IntelliJ running at an acceptable speed, you should copy it to a fast USB drive which is at least USB 2.0. If you're too lazy to build IntelliJ Portable yourself, you can download a prepacked version [here](http://cdn.leolabs.org/files/intellij-portable/IntelliJ IDEA Portable.zip "Download IntelliJ IDEA Portable"), although I recommend you to follow this tutorial as you can be sure that you have the newest versions of IntelliJ and the JDK. I hope this little tutorial helped you. Also, this is my first article in English, so please let me know if I made any mistakes in the text. If you've got some questions or suggestions, just put them into the comments.


